
Last updated November 14, 2026
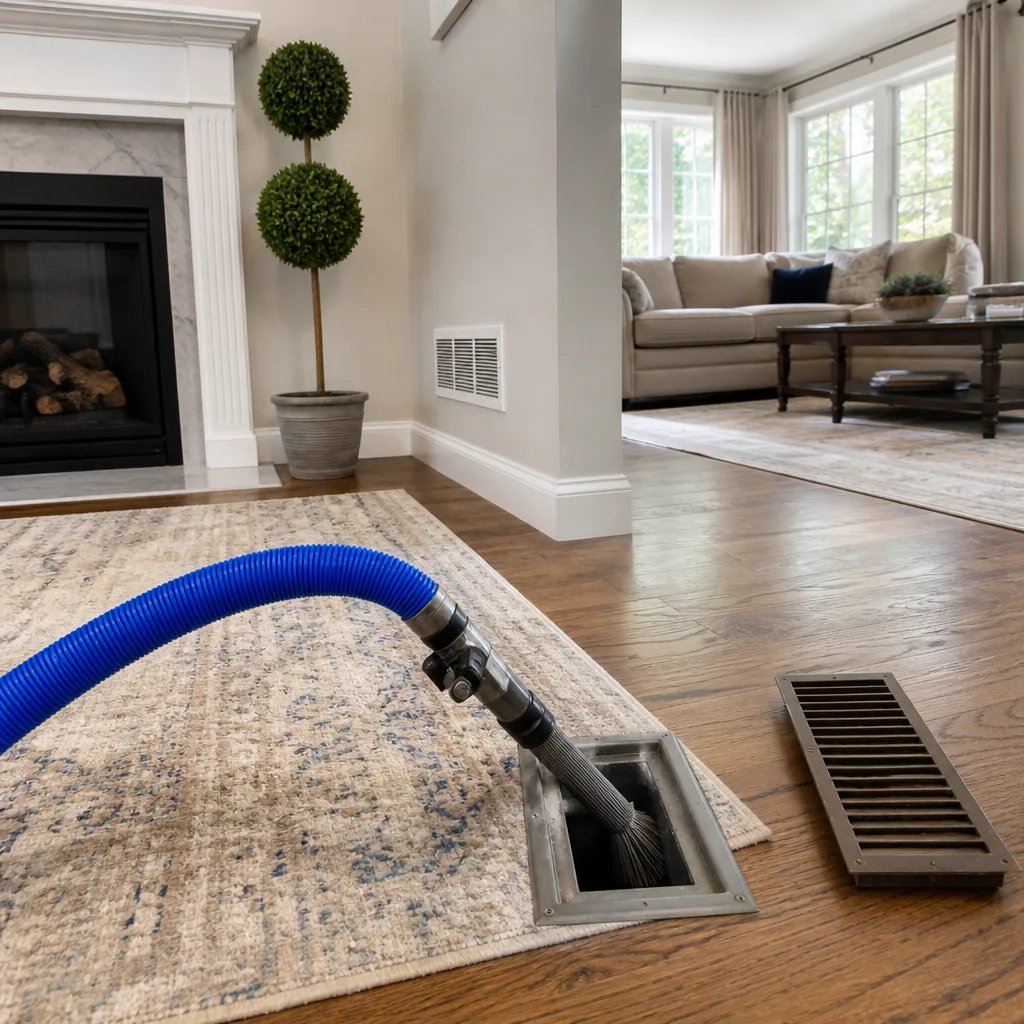 Whole-home duct cleaning
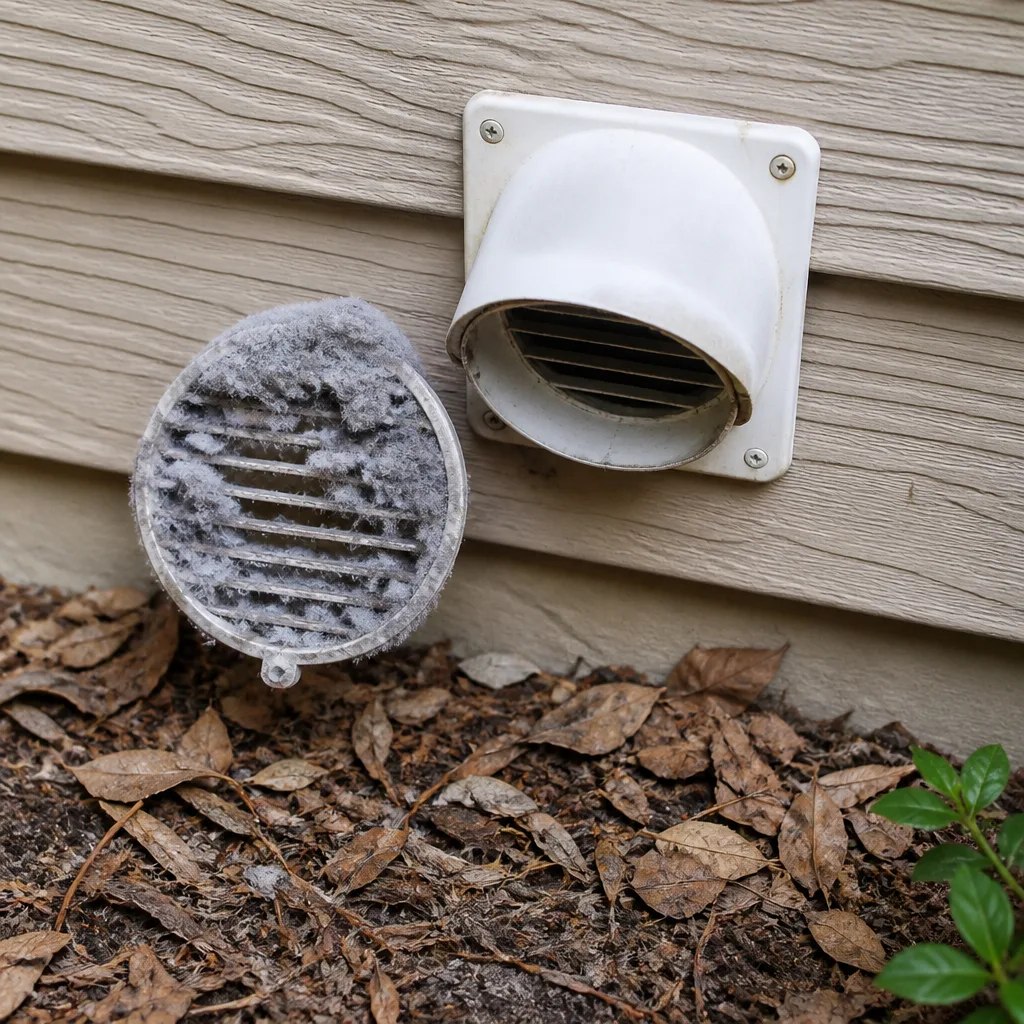 Dryer vent cleaning
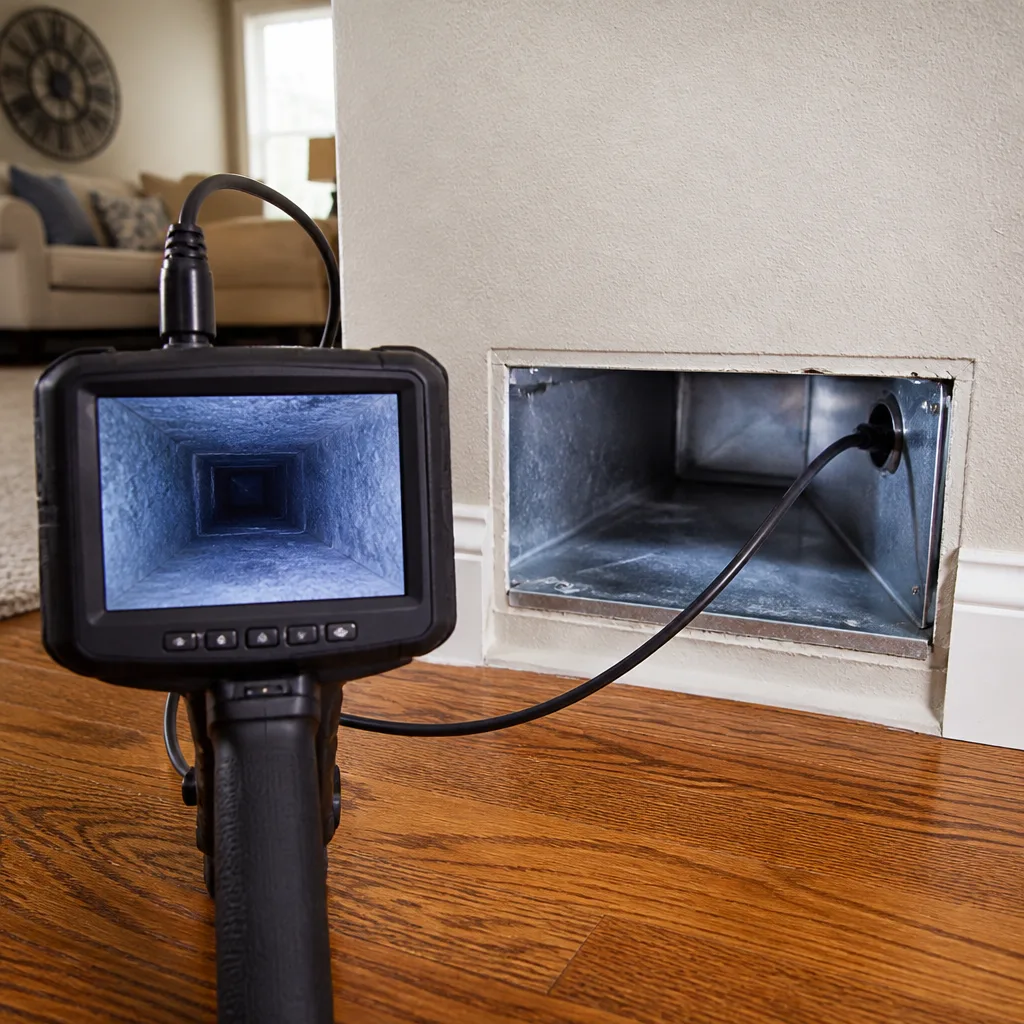 Camera inspection
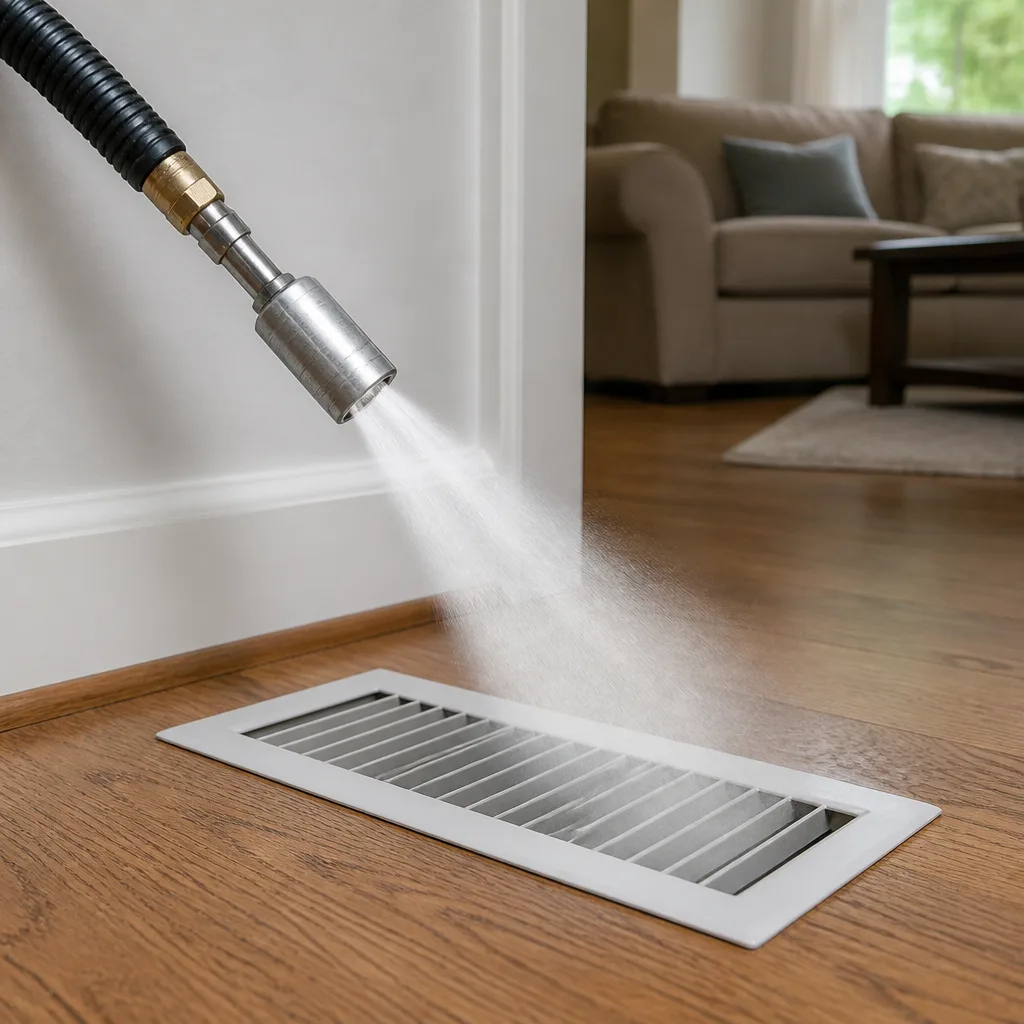 Sanitizing & deodorizing
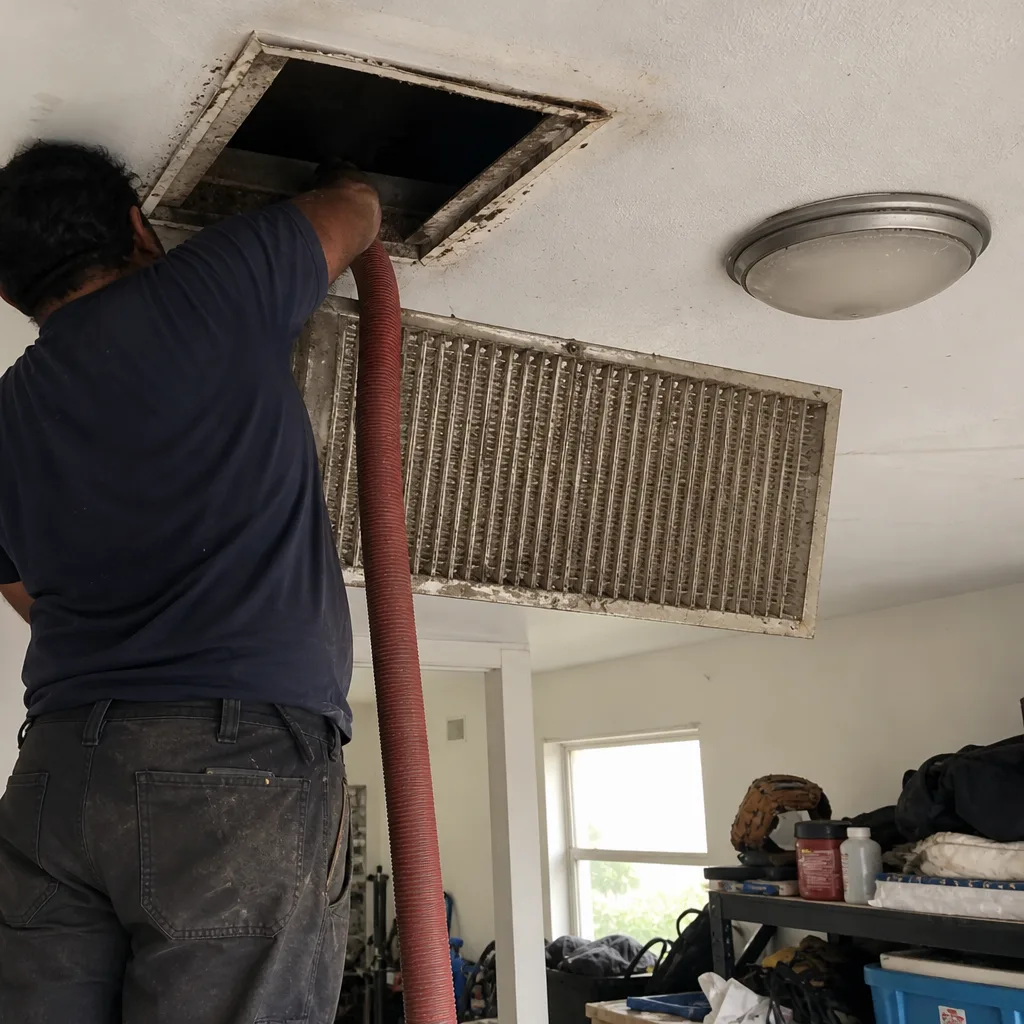
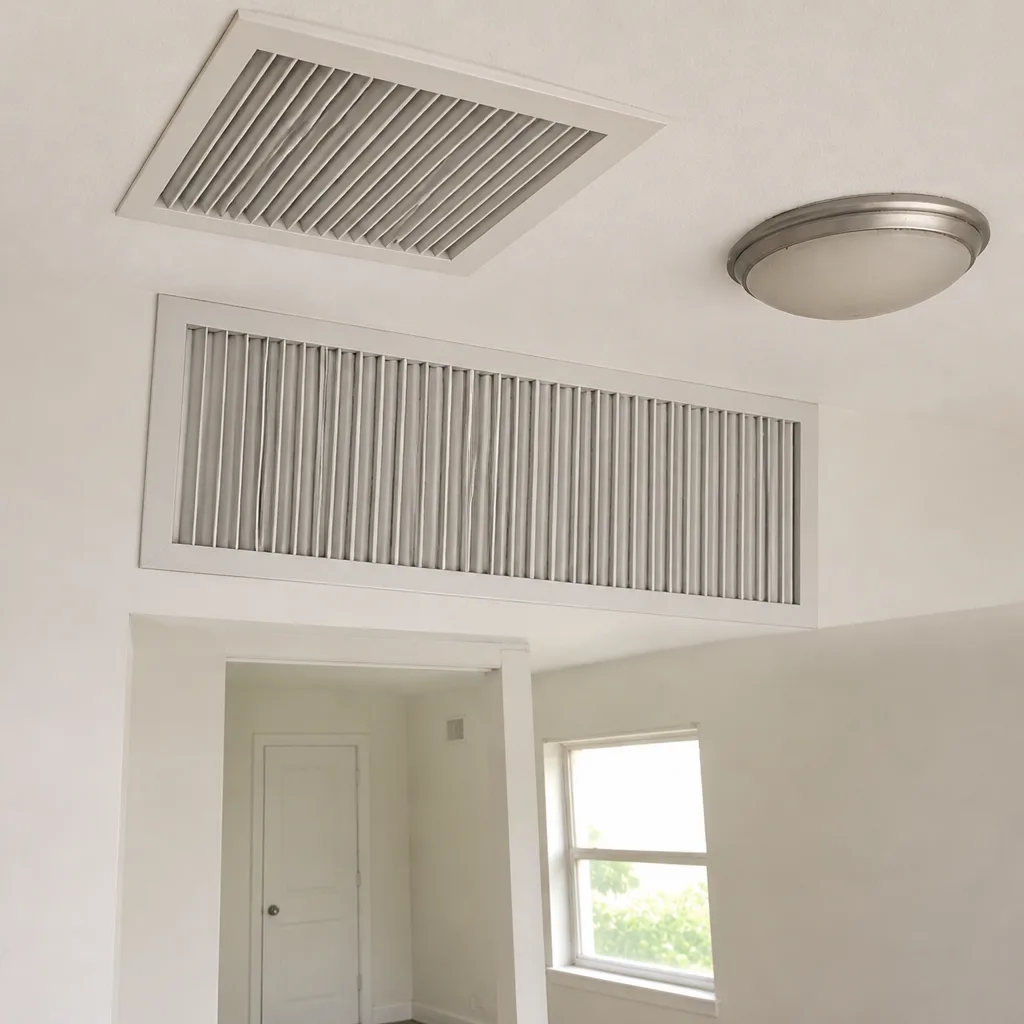
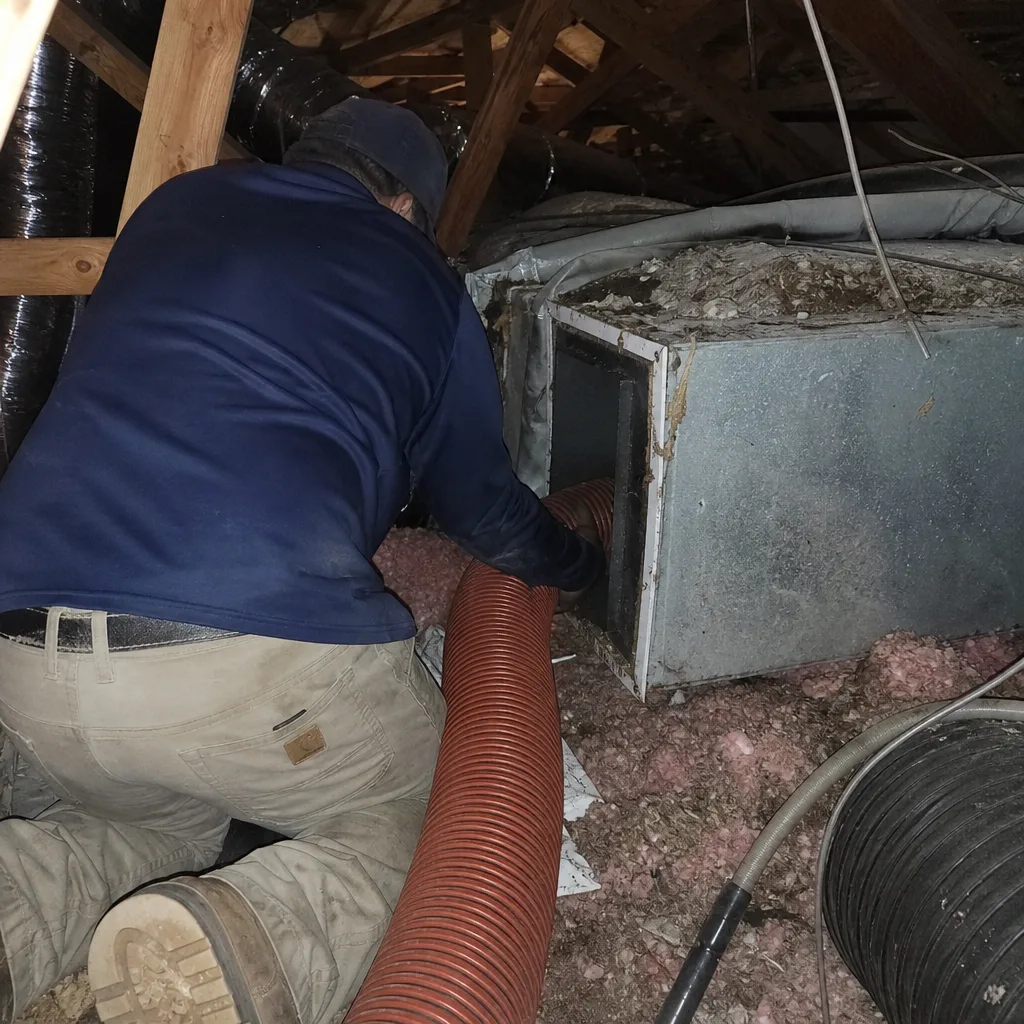
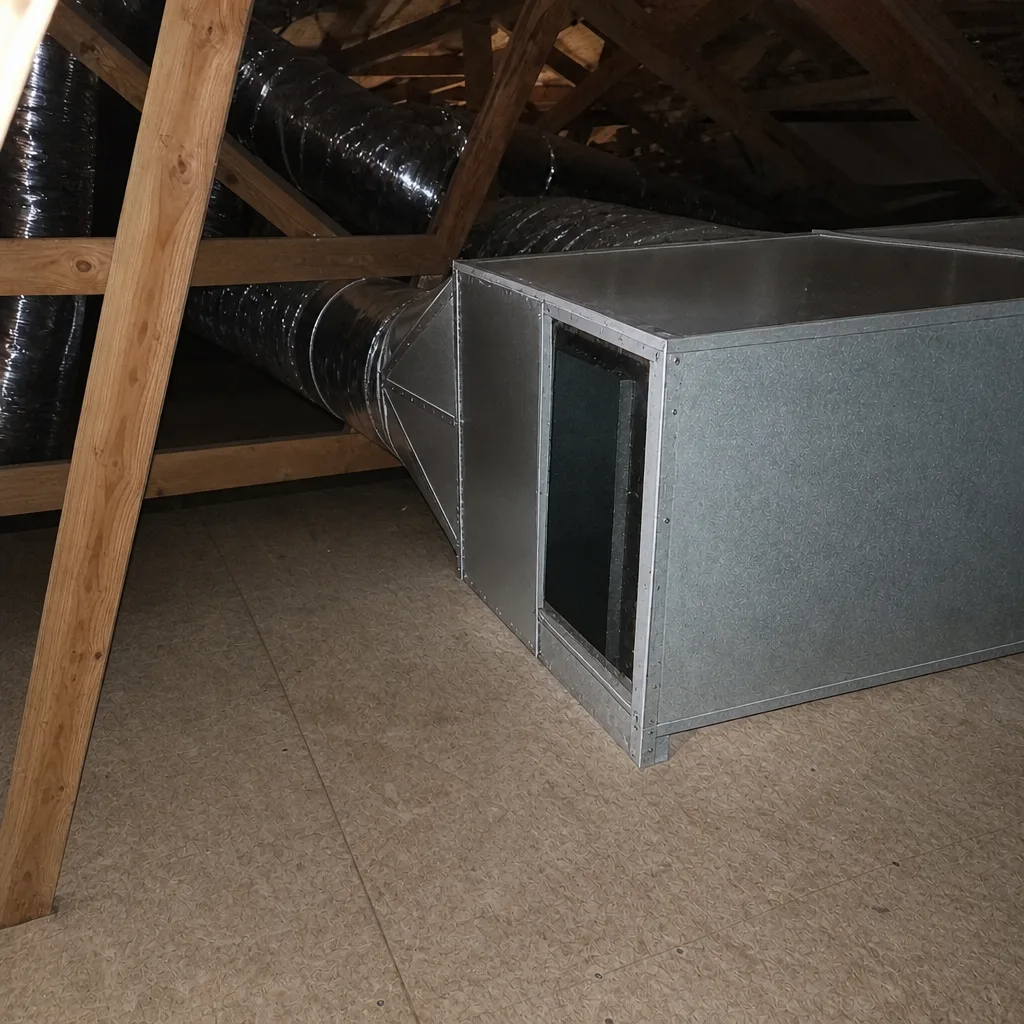
Whole-system duct and dryer vent check with before-and-after photos - you see exactly what came out of your vents
That "$99 whole-house special" is a bait ad - the real number appears once they are in your hallway, or the "clean" is a shop-vac at the register. We photograph the inside of your ducts before and after instead.
Air Duct Cleaning Emergency Preparedness Guide for Corpus Christi Homes
Most storm prep lists start with tarps, water, and generator fuel. Almost none mention the ductwork overhead. That’s the gap worth closing before a hurricane season turns on you. When a tropical system passes through Corpus Christi, wind-driven rain and attic pressure changes can open paths into the duct runs you never see. The system keeps working quietly, pulling whatever moisture and debris settled in the attic right back into the rooms you live in. This guide walks through what to do in the first 72 hours after a storm, what to check in the attic, how to document the damage for insurance, and what a real post-storm duct assessment should cover. It’s written for the homeowner who wants a plan, not a panic call.
Quick Answer
After a hurricane or tropical storm in Corpus Christi, shut the HVAC system down and inspect attic duct runs for standing water, displaced insulation, and disconnected sections before running it again. Duct interiors exposed to storm moisture can begin mold colonization within 24 to 48 hours, so the first 72 hours are the window that decides whether you’re looking at a cleaning job or a repair-and-remediation job. Document everything with photos before any cleanup begins.
Styles & brands we work with
- Whole-home duct cleaning
- Dryer vent cleaning
- Camera inspection
- Sanitizing & deodorizing
Table of Contents
- Why your air ducts are part of storm preparedness
- The first 72 hours: a step-by-step shutdown and inspection plan
- What to look for in attic duct runs after a storm
- Should you run your HVAC after a tropical event?
- How to document duct condition for insurance
- What a professional post-storm duct assessment includes
- The dryer vent belongs in your storm plan too
- How to prep your duct system before hurricane season
Why Your Air Ducts Are Part of Storm Preparedness
Think about what your duct system actually is: a network of thin-walled pathways running through the attic, the hottest and most humid part of a Corpus Christi home. In a hurricane or a strong tropical storm, several things happen at once. Wind-driven rain finds the smallest gaps along attic penetrations. Pressure changes during the storm can flex or shift sections of flex duct. Insulation that was resting on top of a run gets blown loose. Any of those can let moisture and outdoor debris into the duct interior, and once it’s in there, it stays warm and dark and damp.
That combination is the reason duct contamination after a storm is so easy to miss. You see the downed fence. You see the missing shingles. You don’t see the inside of a return duct that took on moisture overnight. It doesn’t announce itself until the air conditioning comes back on and starts pushing everything it’s holding through every room in the house.
Treating the duct system as part of your storm plan isn’t alarmism. It’s the same logic as shutting off the gas before you leave or unplugging the electronics before the surge. You’re protecting the system from the event and protecting the house from what the system might do afterward. Corpus Christi sits in a storm corridor, and every homeowner here already knows the season is real. The piece that gets skipped is the invisible half of the system.
- Moisture enters through attic gaps and displaced duct sections.
- Debris (insulation fibers, blown-in dust, small plant material) settles into the duct interior.
- Pressure shifts during the storm can disconnect flex duct joints or pull sections off collars.
- Warm, dark interiors give mold the conditions it needs once moisture is present.
- Running the system before the problem is checked distributes whatever it’s holding.
None of that requires a hurricane to happen. A tropical storm that dumps rain through a compromised attic vent does the same thing on a smaller scale. The prep matters because the damage is usually proportional to how quickly you act afterward.
The First 72 Hours: A Step-by-Step Shutdown and Inspection Plan
What you do in the first 72 hours after a storm determines the cost and scope of everything that follows. The steps below are the sequence that makes the most sense in practice. If at any point you’re not comfortable with what you’re looking at, stop and call a professional. The goal is a clean decision, not a heroic attic crawl.
- Shut down the HVAC system at the thermostat and the breaker. Don’t let the system cycle on while the attic is in an unknown state. This is the single most important step and it takes thirty seconds.
- Look at the attic from the access point before crawling in. With a strong light, check for standing water, sagging duct sections, visible mold, and displaced insulation around the duct runs. If anything looks structurally unsafe (sagging roof decking, wet trusses, an active leak), don’t go in.
- Photograph everything you can see before touching anything. Every photo becomes evidence for an insurance claim, and every photo is easier to get now than after cleanup begins.
- Check for disconnected duct sections. A flex duct that’s come off its collar or pulled out of a wye fitting is a direct path between attic air and the rooms below. Look for sections that aren’t attached at the ends or are kinked or crushed.
- Feel for moisture inside the duct where you can reach it. A dry paper towel run along the inside of a duct opening will show you moisture quickly. If it comes back wet or damp, the system needs to stay off.
- Check the filter. If the filter is waterlogged or visibly soiled from the storm, pull it and set it aside. Don’t put a wet filter back into the system.
- Decide whether to run the system or leave it off. If everything is dry, sections are connected, and the filter is clean, the system is probably safe to restart. If anything is wet or disconnected, leave it off until it’s been assessed.
- Call a professional for an assessment if there’s any question. The 72-hour clock is running whether you’re running the system or not. A trained set of eyes closes the uncertainty faster than a homeowner can.
One thing worth knowing before you start: the biggest mistake people make after a storm is turning the air conditioning on the moment the power comes back. It feels like returning to normal. In a compromised duct system, it’s the fastest way to spread a problem you can’t see. Hold off until you’ve done the inspection in the steps above.
What to Look for in Attic Duct Runs After a Storm
The attic is where most post-storm duct damage lives, and it’s the place most homeowners never look. The inspection itself doesn’t take long. Knowing what’s normal and what isn’t is the hard part. Here’s what we’d point out to a homeowner standing at the attic access with a light.
Displaced insulation
Attic insulation that’s been blown or washed away from the duct runs is a red flag. Insulation isn’t just for energy efficiency; it keeps the duct surface temperature closer to the air inside the duct, which limits condensation on the outside of the run. When insulation is displaced, that barrier is gone and the run becomes more likely to sweat. Look for bare sections of duct, insulation pushed into a pile against a roof truss, or insulation with visible moisture in it.
Standing water near flex duct
Water doesn’t need to reach the duct shell to be a problem. Standing water under or near a flex duct run keeps the attic humidity high in that section for days, and flex duct has enough small seams and fittings to let that moisture work its way in. If you see pooled water on the decking or the insulation around a run is saturated, that run should be treated as suspect.
Disconnected or crushed sections
Flex duct is tough but not indestructible. A storm can pull a run off its collar, crush a section under a fallen object, or kink a run so badly that airflow is restricted. Look for sections that clearly aren’t attached at the ends, visible kinks, and duct runs that have dropped from their supports and are resting on the joists.
Visible moisture inside duct openings
Where a duct run meets a register boot or where you can see into a section, look for water droplets, damp spots, or a dark, discolored interior surface. Discoloration in a duct that was clean before the storm is the kind of thing that should stop the system from running.
Compromised connections to the air handler
The connection between the duct system and the air handler is where a small breach causes the biggest problem. The air handler pulls air from the return side, and if that connection is compromised, it can pull attic air straight into the system. Look for gaps, tape that’s come loose, or fittings that have shifted.
Any of the above is a reason to keep the system off and get an assessment. None of them is a reason to try to fix it yourself in a hot attic while you’re already dealing with a storm recovery. And here’s the practical reason to move quickly: that’s the air duct cleaning conversation that should happen before mold gets a foothold, not after.
Should You Run Your HVAC After a Tropical Event?
In most cases, the answer is no until the system has been inspected. The temptation to run it is understandable. Corpus Christi heat comes back fast after a storm, and a house without air conditioning is a house that gets uncomfortable quickly. But running a compromised system during the 72-hour window trades short-term comfort for a much bigger cleanup later.
The logic is simple. A working air conditioner moves thousands of cubic feet of air per minute through the house. If the return side is drawing air from an attic that’s still drying out, or if a duct section has come loose and is pulling unconditioned attic air into the system, that air ends up in every bedroom and living space. Once contamination is distributed like that, a cleaning job that might have been limited to one section becomes a whole-house scope.
There’s also a moisture movement issue. Running the system while the attic is still wet cycles humid air through the ducts and the conditioned space, which slows drying and gives any mold spores a much better environment. The air handler itself can become a moisture trap if the return air it’s pulling is humid.
Three scenarios sort it cleanly:
- Attic is dry, all sections connected, filter is clean: the system is probably safe to restart. Run it in cooling mode and watch for any new smell or airflow change.
- Attic has any visible moisture, or any section is disconnected: leave the system off. Call for an assessment.
- You’re not sure: treat it as the second scenario. A free estimate on a professional inspection is a lot less expensive than remediation.
The decision isn’t really about whether the AC works. It’s about whether the system can move air safely. That’s a question with a binary answer, and a professional can settle it faster than you can finish worrying about it.
How to Document Duct Condition for Insurance
Duct damage after a storm is easy to miss on an insurance claim because it’s not visible from outside the house and it isn’t always part of a standard adjuster walk-through. That means the burden of proof falls on the homeowner, and the strongest proof is a clean set of photos taken before any cleanup begins.
Here’s the practical documentation sequence we’d recommend:
- Photograph the attic before touching anything. Wide shots of the whole attic, then close-ups of every duct run that shows damage or moisture. Include a reference object (a tape measure, a shoe, anything with known scale) in at least one shot per damaged area.
- Photograph water intrusion points. Anywhere water came into the attic, photograph the entry point and the path it took. Ceiling stains in the living space, attic decking stains, and roof decking all connect.
- Photograph the filter and any visible contamination inside duct openings. Discoloration, debris, and visible moisture are all claimable evidence.
- Keep receipts for any emergency mitigation you do before the adjuster arrives. If you buy fans, dehumidifiers, or tarps to limit further damage, those are part of the claim.
- Have the duct condition written into the professional assessment. A written report with photos from a trained technician carries more weight than a homeowner’s photos alone. The report should state the condition of each duct run, identify any structural damage, and describe the scope of work recommended.
One more thing: don’t clean anything before you document. It’s tempting to start wiping down surfaces or pulling wet insulation the same day, but every surface you clean is evidence you’ve removed. The photographs are the claim. Take them first.
Insurance is one reason to document. The other is your own record. If a problem shows up six months later, the photos from the storm are the difference between “this has been there a while” and “this started after the storm.” That record matters.
What a Professional Post-Storm Duct Assessment Includes
A post-storm assessment isn’t the same thing as a routine cleaning. The scope is different because the question is different. A routine cleaning asks “what’s in the system?” A post-storm assessment asks “what’s in the system, is it structurally intact, and is there biological growth?” Those are separate questions, and the second one drives the equipment and the plan.
Here’s what we bring to a post-storm assessment, and what any qualified contractor should include in theirs:
- A full visual inspection of the accessible duct runs, both supply and return, with attention to attic runs and connections.
- Moisture readings at the duct surfaces and at the air handler connections. Moisture inside a duct is the trigger for mold concern.
- Assessment of structural integrity of each section: connected, crushed, kinked, or compromised at a collar.
- Photographic documentation at every point where a problem exists, included in a written report.
- Contact-vacuum brushing with Rotobrush equipment where the scope calls for cleaning, not just a blow-through.
- Negative-air capture with Nikro equipment to keep debris out of the living space during cleaning.
- Abatement Technologies filtration where contamination is heavier or the environment calls for it. We carry Abatement Technologies equipment for jobs that need more than a standard cleaning.
- Air Duct Repair capability where sections are damaged or disconnected, not just a cleaning pass over a broken run.
The last point is the one most homeowners don’t know to ask about. A clean-only contractor finds a disconnected duct and cleans around it. A specialist who does both cleaning and repair fixes the connection and cleans the system afterward. Ironside Duct Cleaning is set up for both because the two problems usually show up together after a storm.
We also look at the filtration side of the system. If your home runs a Honeywell or Aprilaire filter setup, the post-storm assessment should include a check on the media and the housing. A filter that took on water or clogged with debris is part of the overall duct health question, not a separate one. We work within both product lines and can tell you what needs to be replaced versus what just needs to be cleaned.
Finally, the assessment should end with a written scope that lists what’s being done, what it costs, and what isn’t included. One flat price per system, agreed before work starts. No per-vent pricing, no surprise line items once the equipment is out of the van.
The Dryer Vent Belongs in Your Storm Plan Too
Most homeowners think of the dryer vent as a separate system. Functionally it is, but it’s part of the same indoor air pathway and subject to a similar set of post-storm problems. A storm that blows rain into an exterior dryer vent flap or shifts the exterior hood can leave moisture and debris in the run. That’s a fire risk that gets worse the longer it sits.
Dryer vent lint is highly flammable, and a vent that doesn’t flow properly traps heat in the dryer. That’s a leading cause of residential house fires, and it’s not a metaphor. A storm that compromises vent airflow makes the risk worse. dryer vent cleaning after a storm is one of the cheaper parts of recovery and one of the more important.
What to check on your own after a storm:
- The exterior flap should open freely and close on its own.
- No visible debris or water inside the vent where you can see it.
- Dryer cycle times should be normal; if clothes take noticeably longer to dry, airflow is restricted.
- No lint visible on the exterior vent screen after a load.
If any of those are off, have it cleaned. A professional dryer vent cleaning uses a rotary brush and a vacuum system built for it, not a shop-vac jammed into the wall.
How to Prep Your Duct System Before Hurricane Season
The best post-storm duct outcome starts before the storm. Preparing the system before the season means fewer decisions in the middle of a power outage and less damage from a storm that turns out milder than forecast.
- Get a pre-season inspection. A duct system that’s already in good shape has fewer weak points for a storm to exploit. We schedule these ahead of the season because the calendar fills up fast during active storm years.
- Check attic penetrations. Every place a duct run, a cable, or a vent stack enters the attic is a potential storm entry point. Sealing small gaps is a small job that prevents a big one.
- Look at insulation coverage over the duct runs. Insulation should cover the runs, not leave them exposed. Displaced insulation is a pre-storm issue that becomes a post-storm problem.
- Verify duct section connections. Loose tape and shifted fittings are a slow leak in good weather and a full breach in a storm.
- Replace the air filter before the season. A clean filter leaves you a fresh start after the storm.
- Photograph the current duct condition. This is the single best thing you can do in advance. A clean set of photos before the storm gives you a baseline to compare against after, and that comparison can make an insurance claim far easier.
- Have the dryer vent cleaned on the same schedule. The two systems work together, and a storm-ready house needs both in good shape.
The pre-season inspection isn’t a sales call. It’s the cheapest hour of the whole season, because it tells you what your system needs before a storm does.
Common Mistakes to Avoid
- Turning the AC on the moment the power comes back. It’s the fastest way to distribute storm contamination through the whole house. Do the attic inspection first.
- Cleaning anything before photographing it. Every wiped surface is evidence removed from an insurance claim. Take the photos first.
- Assuming that because the house looks dry, the attic is dry. Attic moisture lingers after the visible signs are gone. The ducts are the last place to dry out.
- Letting a cut-rate duct cleaning crew “run a vacuum” through the system after a storm. A shop-vac job doesn’t address structural damage or bio-growth, and it can make the problem worse by spreading it. Real equipment and a real scope matter here.
- Skipping the dryer vent. It’s part of the same system, it’s a fire risk, and it’s cheap to fix. Corpus Christi homes with a dryer vent that hasn’t been serviced in years are the ones that need it most after a storm.
- Not asking whether the contractor can repair damaged ductwork. A clean-only crew finds a disconnected section and cleans around it. Ask up front what happens when structural damage is found.
- Waiting to see whether mold shows up. The 72-hour window exists because mold colonization is fast and remediation is slow. Waiting is the expensive option.
See the difference
 Before
 After
 Before
 After
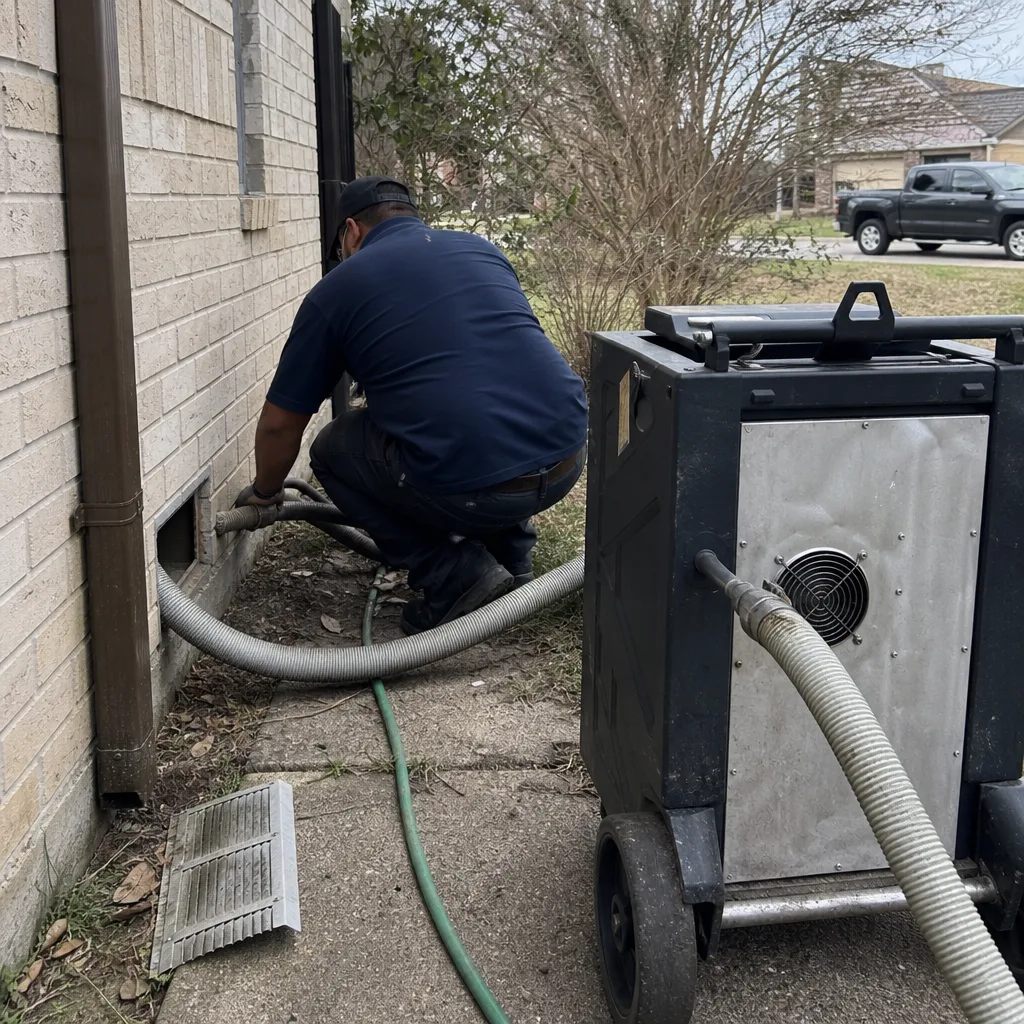 Before
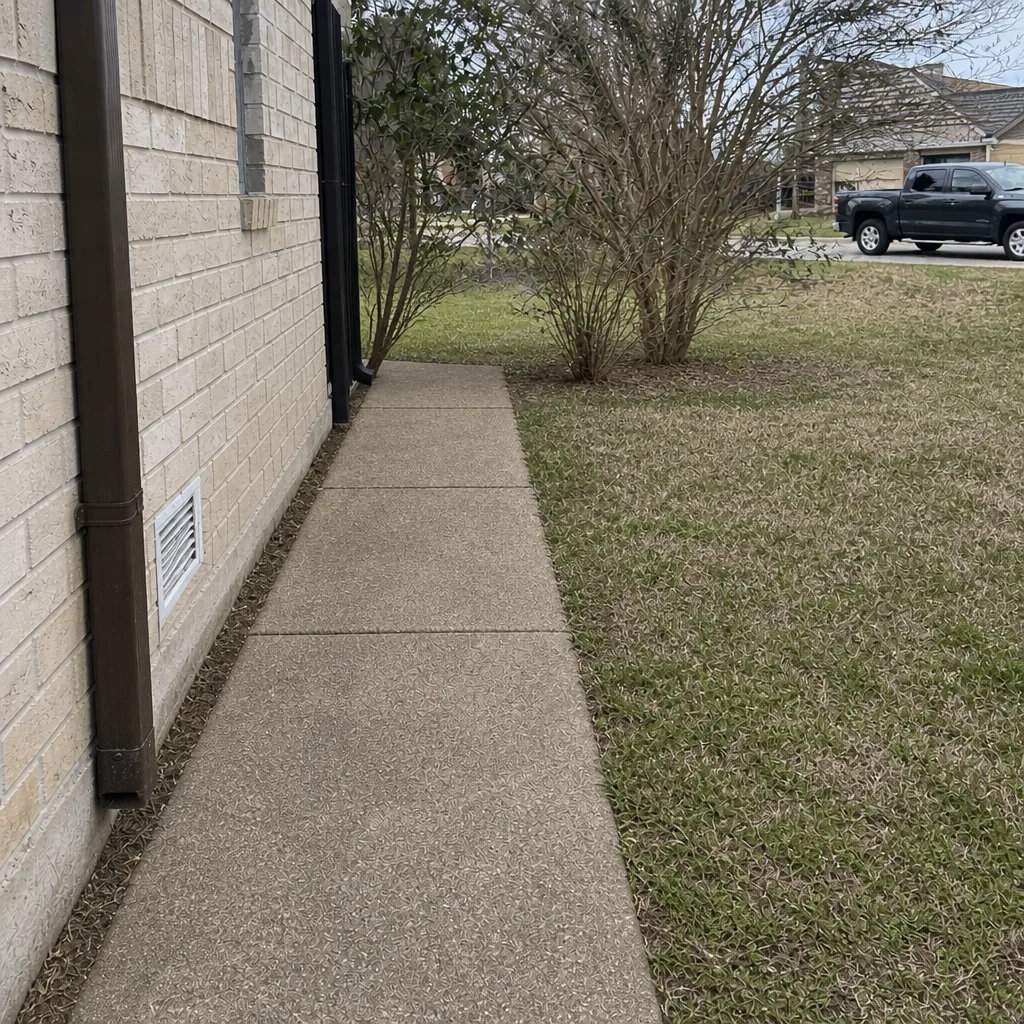 After
When to Call a Professional
Call a professional if you smell a musty or “wet attic” odor when the system runs, if anyone in the house notices increased allergy symptoms after a storm, if you can see visible moisture inside a duct or on the decking around a duct run, or if any section of the attic run is disconnected, crushed, or kinked. Call if the filter came back wet, if you’re filing an insurance claim and want a written assessment to support it, or if the storm damage to the system is unknown and you’d rather not guess. If the house is fine, we’ll tell you that and skip the sales pitch. If it’s not, we’ll explain exactly what was found and what the scope would be. Ironside Duct Cleaning offers free estimates in Corpus Christi – call (833) 435-2252. We answer 24/7. Fast dispatch from 7am to 7pm, Sunday through Friday.
Frequently Asked Questions
As soon as the attic is safe to enter and the system has been assessed, ideally within the first few days. Duct interiors that take on storm moisture can begin mold colonization within 24 to 48 hours, so the earlier the inspection the better. Call (833) 435-2252 for an exact quote – estimates are free.
Pricing is per system based on the scope of the job, so any quote that doesn’t involve a walkthrough of the actual system is a guess. A professional assessment includes the duct runs, the air handler connections, the filter housing, and the exterior vents. The written estimate is what sets the final price, and we stick to it. Call (833) 435-2252 for an exact quote – estimates are free.
Because the scope is cheaper, not the price. A quote that assumes a single pass with a shop-style vacuum doesn’t address disconnected sections, moisture inside the system, or biological growth. The work either gets done or it doesn’t. A one-flat-price-per-system approach with a written scope before work starts is the honest way to compare, because you can compare the actual work. Call (833) 435-2252 for an exact quote – estimates are free.
Ask for before-and-after photos of your own system, not stock images. Photos taken of your ducts before and after the work are the clearest proof, and any contractor doing professional work should be able to provide them as a matter of course. Call (833) 435-2252 for an exact quote – estimates are free.
Under normal conditions, most homes don’t need duct cleaning on a fixed schedule. The “every year” claim is a sales pitch. What drives timing is what’s actually in the system: visible contamination, mold, pest activity, recent renovation dust, or a storm event. A storm is a very good reason to have the system assessed. A quiet year isn’t. Call (833) 435-2252 for an exact quote – estimates are free.
Sometimes, and the answer depends on whether the duct damage resulted from a covered event and whether the claim is supported by documentation. Photographs of the attic before cleanup, a written assessment from a trained technician, and receipts for any emergency mitigation all strengthen the claim. We don’t bill your insurer directly, but we can work with your insurer and provide the documentation a claim needs. Call (833) 435-2252 for an exact quote – estimates are free.
The Bottom Line
Duct systems are the invisible half of storm prep in Corpus Christi. The steps that matter most are simple: shut the system down after a storm, inspect the attic from the access point, photograph everything before touching anything, and get a professional assessment before you restart the system. The 72-hour window is the difference between a cleaning job and a repair-and-remediation job, and starting it on time is worth more than any single item on your storm supply list. A storm-ready house starts with the air it breathes. Clean ducts. Repaired ducts. Safe vents. That’s the whole job.
If you’re unsure about your system after a storm, call Ironside Duct Cleaning at (833) 435-2252 for a free estimate. We serve Corpus Christi homes with professional-grade equipment, and our technicians have up to 12 years of experience. We answer 24/7. Fast dispatch from 7am to 7pm, Sunday through Friday.
Written by the team at Ironside Duct Cleaning.